In this tutorial, you’ll learn how to set up a TypeScript development environment.
The following tools you need to setup to start with TypeScript:
- Node.js – Node.js is the environment on which you will run the TypeScript compiler. Note that you don’t need to know node.js.
- TypeScript compiler – a Node.js module that compiles TypeScript into JavaScript. If you use JavaScript for node.js, you can install the
ts-nodemodule. It is a TypeScript execution and REPL for node.js - Visual Studio Code or VS code – is a code editor that supports TypeScript. VS Code is highly recommended. However, you can use your favorite editor.
If you use VS Code, you can install the following extension to speed up the development process:
> Live Server – allows you to launch a development local Server with the hot reload feature.
Install Node.js
1) Go to the https://nodejs.org/en/download/.
2) Download the node.js version that suits your platform i.e., Windows, macOS, or Linux.

3) Execute the downloaded node.js package or execution file. The installation is quite straightforward.
4) Verify the installation by open the terminal on macOS and Linux or command line on Windows and type the command node -v. If you see the version that you downloaded, then you have successfully installed the node.js on your computer.

Install TypeScript compiler
To install the TypeScript compiler, you launch the Terminal on macOS or Linux and Command Prompt on Windows and type the following command:
npm install -g typescript
After the installation, you can type the following command to check the current version of the TypeScript compiler:
tsc --v
It should return the verison like this:
Version 4.8.2
Note that your version are probaly newer than this version.
If you’re on Windows and got the following error:
'tsc' is not recognized as an internal or external command,
operable program or batch file.
… then you should add the following path C:\Users\<user>\AppData\Roaming\npm to the PATH variable. Notice that you should change the <user> to your windows user.
To install the ts-node module globally, you run the following command from the Terminal on macOS and Linux or Command Prompt on Windows:
npm install -g ts-node
Install VS Code
To install the VS Code, you follow these steps:
1) Navigate to the https://code.visualstudio.com/download.
2) Download the latest version of VS Code that suits your OS (Windows, macOS, or Linux)

3) Execute the downloaded package or the installer file to launch the setup wizard. The installation process is also quite straightforward.
4) Launch the VS Code.
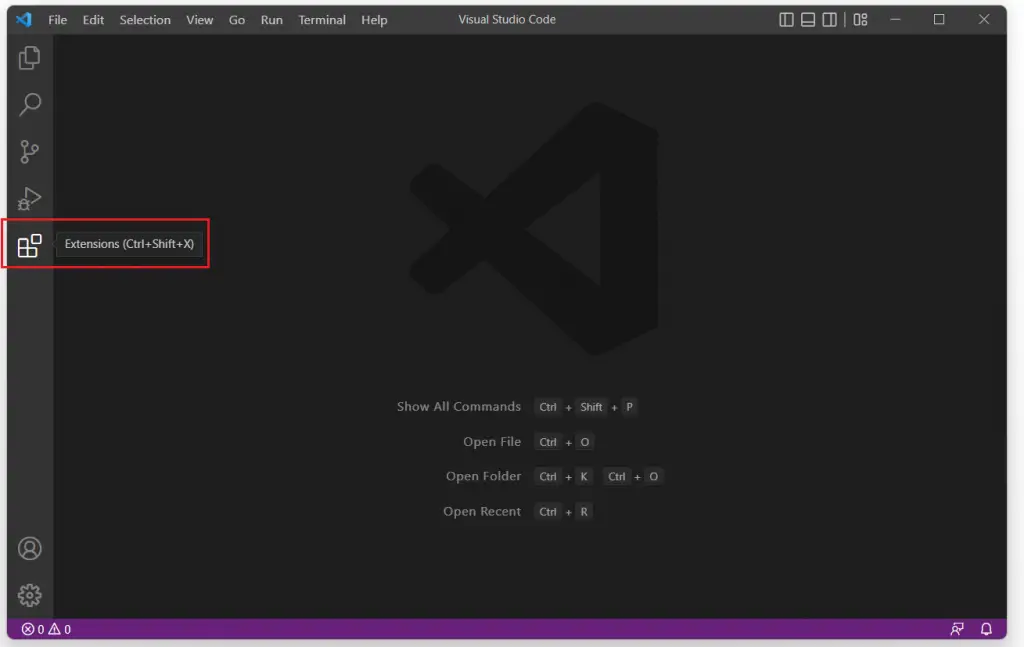
You’ll see the VS Code as shown in the following picture:

To install the Live Server extension, you follow these steps:
1) Click the Extensions tab to find the extensions for VS Code.

2) Type the live server to search for it.

3) Click the install button to install the extension.
In this tutorial, you’ve learned how to install a development environment for working with TypeScript.
